The camera flash is a much maligned piece of technology! With some of the awful pictures you see people take it’s easy to see why. When used properly, however, an on-camera flash can be a fantastic weapon in your photographic arsenal, although getting it right can take some practise. If you’re wondering how to get the most from your on-camera flash, check out our advice below!
The problem with flash photography
We’ve all seen some terrible examples of flash photography! Those pictures that your uncle took on holiday, where the background is dark and indistinct, but the image of your aunt in the foreground glows brightly enough to make your retinas ache. There’s probably also some red-eye to be found somewhere within the photo!
The issue here is that the flash on your SLR or DSLR camera fires off a quick burst of light in a single direction, overexposing a particular area. Other elements remain in shadow because they have been exposed to less light, and because the camera, unless properly set up, can’t compensate for this. The result of this is inevitably somewhat jarring!
Improving your on-camera flash photography
The good news is that there are skills and techniques that you can use in order to make better use of your camera flash. All it should take is a little practise and you should be getting the most from your flash in no time. Find out how below!
Get the right flash
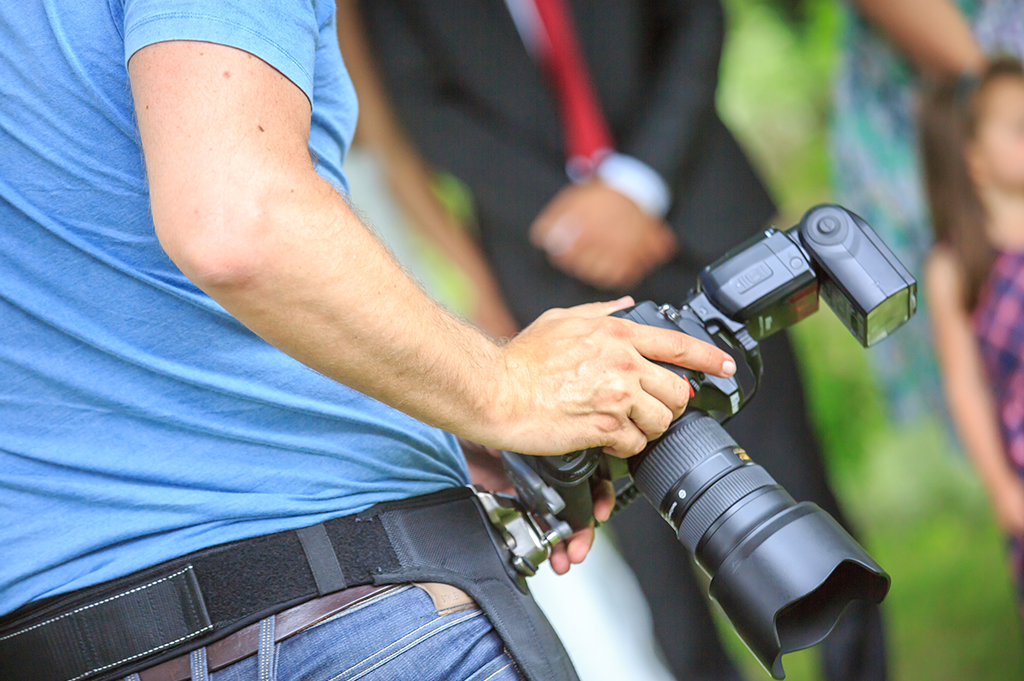
While most cameras nowadays come with a flash built-in, these are very limiting in their capabilities and can be very difficult to work with indeed. The best thing you can do to immediately improve your flash is to get yourself either an off- or on-camera flash. We’re going to focus upon on-camera flashes for this article, as they’re often the more practical solution for many amateur and professional photographers alike, dispensing with the need for extra equipment such as tripods.
Bounce the light
One of the problems with your flash is that it emits bright light in only one direction, so by disrupting this you should be able to soften it. A popular way to achieve this is the bounce the light off other surfaces. If you can tilt your flash then do this, angling it to hit a wall or other surface. In the occasion that your flash is static, attach a bounce card to it, which will reflect the light into a different direction. Doing this will not only even out the light within your whole picture, it can also lead to some dramatic shadow work…in the right places this time!
Bouncing light off different colours
Bouncing your on-camera flash off a white wall should be a simple skill to master. It can be a different situation entirely if you only have coloured surfaces at your disposal! This is where colour correcting flash gels can come in handy. The basic idea is to use the contrasting colour to your dominant light source, so as to render it as close to natural white light as possible. For example, if you bounce your flash off a blue wall, it will cast a blue light over your image. To correct this, try using an orange filter.
Diffuse the light
A great way to soften the light from your flash is to use a diffuser. Diffusers, to put it simply, attach to your flash unit and work to soften the light emitted. This should mean that the light hitting both the subject and backgrounds of your photographs will be more flattering. If you don’t have a diffuser, or in a flash-related emergency, you can even just use a napkin or a piece of tracing paper.
Slow sync flash
Whenever you find yourself taking photos in low light, you can always use slow sync flash to get better results. This setting on your camera will allow you to combine the flash with a slower shutter speed. Using a slower shutter speed will, in effect, give your camera the chance to catch up with your flash, letting enough light in to capture all the detail contained within the frame.
Flash exposure compensation
If you’re not comfortable going full “manual” with your on-camera flash, the flash exposure compensation setting on DSLRs can be a really helpful tool. Flash exposure compensation tells the camera how much light you want to see, reducing or increasing the flash accordingly. The final result should be that you can brighten up darker areas of your composition without losing exposure on the brighter parts.

Concentrate your camera flash
We’ve already talked about bouncing and diffusing the light from your on-camera flash, but sometimes you might want it to be even more intensely focused on one area. Attaching a grid and/or snoot to a flash will concentrate the light into a narrower beam. This can be especially good if you’re looking to focus upon a single object or something small, and you want to see some dramatic shadowing.
Fill flash
If you’re thinking that you’ll only want to use your on-camera flash in low light, think again! A flash can be a fantastic piece of gear even in full sunshine. Often, shooting outside with clear skies can result in awkwardly placed shadows, but if you turn your flash on, the extra light coming from another direction will even out the spread of light and shade. This is a technique known as “fill flash”.
Using a flash of any kind can take a bit of getting used to, but we hope we’ve given you the inspiration to get practising! If you’re investing in new photographic equipment, it could be a good idea to consider taking out camera insurance to help protect it. At The Insurance Emporium, we offer flexible Camera Insurance for everyone, no matter how far along they are on their photographic adventures. Standard Benefits include cover for Theft, Loss Or Accidental Damage and more, and you could also benefit from a 25% Introductory Discount*. Head to our product page to find out more!
* The Introductory Discount is available for the first 12 premium payments on lunar and calendar monthly policies or one premium payment on annual policies.
All content provided on this blog is for informational purposes only. We make no representations as to the accuracy or completeness of any information on this site or found by following any link on this site. We will not be liable for any errors or omissions in this information nor for the availability of this information. We will not be liable for any loss, injury or damage arising from the display or use of this information. This policy is subject to change at any time.